Since the COVID-19 isolation situation has been underway I, like many others, have taken to mastering the art of sourdough bread!
But, why Sourdough?
Why make sourdough bread over other breads that, in all fairness, are less time-comsuming to make? I did a little research (1, 2) and found that compared to breads prepared using fast-acting (bakers/dried) yeast, breads made with wild yeasts and a longer fermentation (sourdough):
- are easier to digest as the yeast does some of the work for us;
- have increased the nutrient density thanks to wild yeasts activating several B-vitamins;
- have less gluten/gliadin proteins as they are broken down by the wild yeasts;
- have more interesting/complex flavours (hence, SOURdough);
- retain moisture longer ie. don’t stale as quickly (breads from the supermarket that seem to last ages do so thanks to added preservative).
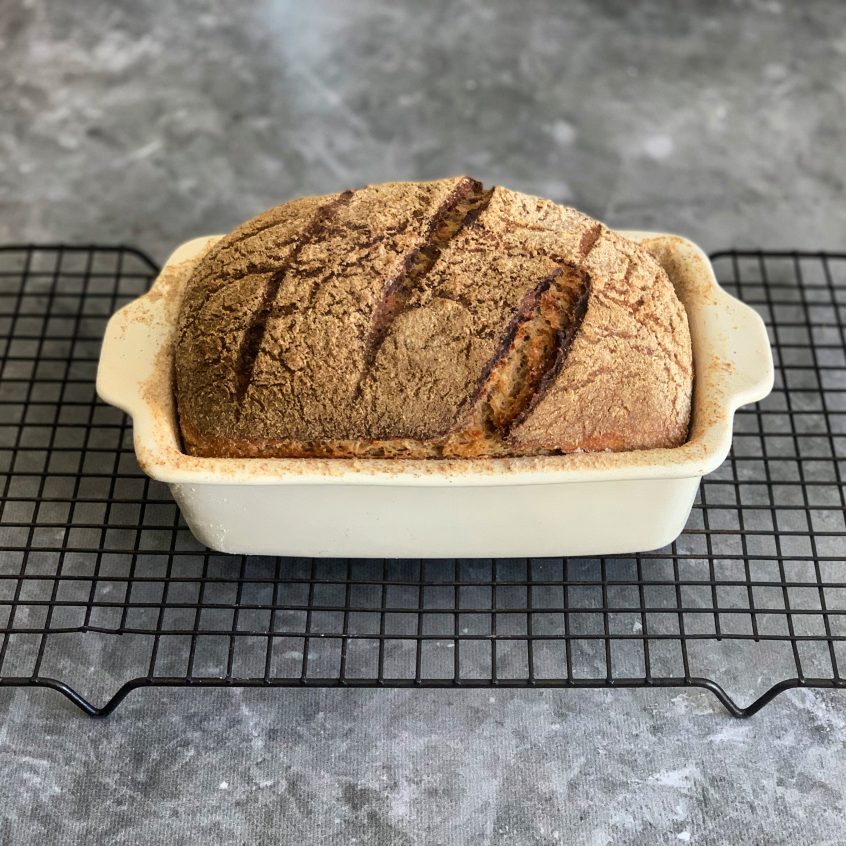
I love having my Rye Sourdough just with a little Olive Oil & Salt, or with some of my homemade Pâté or homemade Jam!
A massive thanks to the guys at Firehouse Bakery for their Bread School and Instagram Tutorials (look at the Story highlights) – this is where I learnt all of this and highly recommend you check them out before asking me any questions about Sourdough.
This recipe assumes you have already made your Sourdough Starter mother culture – this process takes 7-10 days. Follow Firehouse Bread or other recipes online on how to make your starter. I’ve got an organic wholemeal starter.
Ingredients:
Levain:
- 75g Starter Mother
- 75g flour (flour that you normally use to feed your starter)
- 75g water
For the loaf
- Levain
- 100g organic white bakers flour
- 100g organic wholemeal bakers flour
- 200g organic rye flour
- 1 Tbsp honey
- about 320mL/g water
- 10g salt
Method:
- Prepare your Levain by mixing the Levain ingredients together in a jar or bowl, then leave on your counter (covered with tea towel) for about 5-6 hours to get fully active.
- In a bowl mix the flours with your starter, honey and some of the water. Bring mixture together, keep adding water until all the flour is incorporated (you may use all the water, but sometimes I find I don’t need it all).
- Once it’s just combined, allow the mixture to autolyse for 30mins.
- Add salt then turn the dough onto a floured surface and kneed for 3-4 mins.
- Rest dough for 30mins.
- Stretch the dough and fold back on itself 4-5 times.
- Rest dough for 30mins.
- Repeat steps 6 and 7 twice more, the second time leaving it to rest for 60mins rather than 30mins.
- Shape the dough into the shape you want to bake it.
- Rest 10 mins.
- Prove your dough in proving basket/lined loaf tin/greased bowl on the bench for 2 hours or in the fridge for 6-18 hours (the second option works well if you want to bake first thing in the morning).
- Preheat your oven and a casserole dish/dutch oven within your oven to 250degC (or as hot as it will go), usually takes about 30-45mins.
- Once heated, carefully remove the dutch oven/casserole dish, transfer the dough on a piece of baking paper into the dutch oven, cover and return to the oven.
- Reduce temperature to 230degC and bake for 45mins with the lid on, then carefully remove the lid and bake for a further 5 mins.
- Remove from oven carefully and allow to cool before devouring or slicing and freezing.